Showing posts with label sewing. Show all posts

Wednesday, March 13, 2013

A Better Burp Cloth

I know a lot of pregnant ladies lately, so I foresee a lot of gift giving in my future. One of my mother's classic baby gifts is a receiving blanket and a set of burp cloths. They aren't your average burp cloths though. A unique shape makes them, in my opinion, a better burp cloth. So, I thought I'd share.
A good friend just had her third baby a few weeks ago, so I decided to put some together. You can never have enough burp cloths, right? I usually just use flannel, but because I liked terry cloth so much with my babies, I decided to use flannel on the front and terry cloth on the back.
And because I had a lot of terry cloth, I thought I'd put together a couple of wash cloths as well. I haven't actually given these to my friend yet and I don't know if she reads my blog, so they might not end up being much of a surprise. Oh well.

Interested in making some burp cloths yourself?  Here's the pattern:

Better Burp Cloth Tutorial

Here's what you'll need:

Burp cloth pattern (Note: I couldn't fit the pattern on my 8.5 X 11 paper, so you'll need to double up the fabric and add .25" before the fold when cutting.)
1/2-1 yard Flannel (depends on how many you'd like to make)
1/2-1 yard Terry Cloth
Thread, Pins, Scissors

Here's how I made them:
1. Cut out pattern in flannel and terry cloth. 
2. Pin flannel and terry cloth together (right sides together). Sew a .25" seam around the edge. Make sure to leave an opening for turning.
3. Turn right side out and iron.
4. Add some decorative stitching about and inch in from the edge and you're done. My machine isn't fancy, so I just used one of my stretch stitches around the edge.
Do you think my friend's baby will enjoy spitting up on these beauties? I hope so.
Have a Happy Day!

~MJ


Thursday, February 7, 2013

Hearts Tutu Skirt

Last week my children spent some time at their cousin's house. Cousin A loves to dress Jellybean up in all of her dress-up clothing. This is heaven for Jellybean. When I came to pick Buddy and Jellybean up, Jellybean was wearing a dance leotard with an adorable tutu over the top.  It wasn't a full skirt, just a transparent tutu with some flowers folded into the layers of tulle. Well, I couldn't help myself, I had to make something for Jellybean to dress-up in at home.
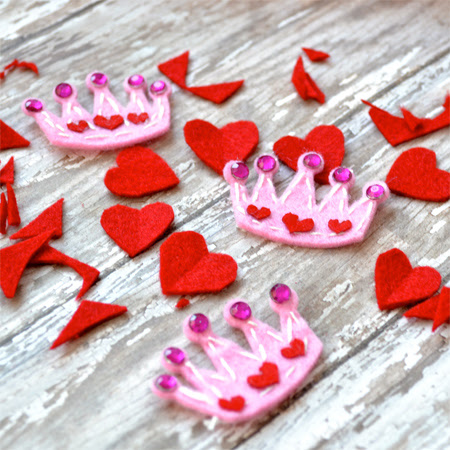
So, purchased 3/4 of a yard of pink tulle and a 1/2 of a yard of white poly-satin. Then I commenced cutting out some small red hearts.
I had to add some princess crowns. Jellybean picked them out.
Then I used the same skirt pattern that I used for my first skirt last summer. Because I wanted the tulle to be longer than the white skirt underneath, I cut the underskirt an inch shorter and then gave it a 1/2 inch rolled hem. I also doubled up my tulle, so that I could create a pocket for the hearts and crowns.
After putting in the side seam for both layers, I turned them both right side out and put my hearts and crowns in the tulle. Next, I tucked the underskirt inside of the tulle and pinned them so that there was a generous 1 1/2 inches above the tulle and then folded it inward to create the channel for the elastic. I found that a small zig-zag stitch worked best with my machine and the material I was working with.
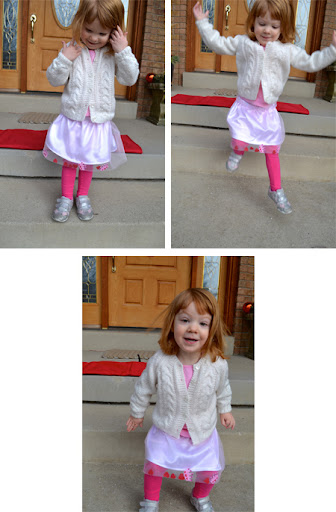
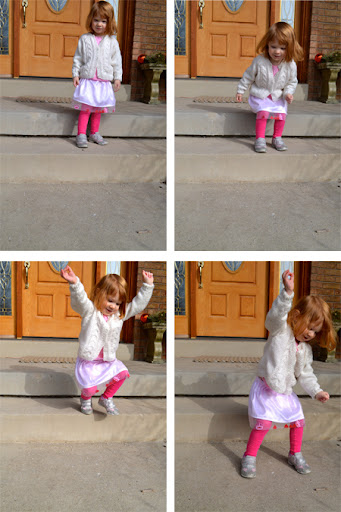
Jellybean came out yesterday for a quick photo shoot. She loves her skirt.
It even inspired quite a bit of jumping.
In fact, after we went inside, she decided that she had to go back out for another round of jumping.
That skirt is really something!

Have a Happy Day!

~MJ

Monday, January 14, 2013

Pocket Pal: Sweetie the Cat (and Tutorial)

We have been stuck indoors a ton over the last week. If it wasn't the super cold temperatures and terrible air quality, it was a massive snow storm that decided to roll through. Physically, I've been feeling exhausted, but mentally and creatively, I've been going absolutely stir crazy.  I completed four of my pins on Pinterest in the last couple of days (more on that tomorrow) and yesterday, during nap time, I decided to make something fun for Jellybean as well.
Jellybean is going through a HUGE kitty cat stage. Half the day, she wants to play "kitties" which involves a lot of crawling around and meowing. ("You be the mommy kitty and I'll be the baby kitty.") I thought with some of my creative energy, I'd go with her current interest and make a little stuffed cat.
I asked her if she wanted a big cat or a little cat. She indicated that she wanted something small. So, I sketched out a little cat softie and got to work. I can't tell you what satisfaction there is in sketching an idea out and then actually creating something from that idea.
I was in such a hurry to get this done, I didn't take a lot of process shots, so I'll give you a brief explanation of how this came together and I'll trust you to take it from there if you are so inclined.
First, I did the above sketch and then cut the sketch out and cut apart the pieces.
Next, I increased the head, body, arm, and leg about a 1/4" and used that to create my pattern.
With pattern in hand, I grabbed some scrap fabric and cut out 2 head and dress pieces and 4 arm and leg pieces.
This is where it gets fuzzy. I started pinning and sewing and basically forgot my camera existed.
So it went from beginning to pin the pieces together to complete before I knew it.
Here are the instructions for the missing pictures, bear with me. I hope it makes sense:
-Pin the head and body pieces together (right sides together, pictured above).
-Pin the arm pieces together and then the leg pieces (right sides together). Sew arm and leg pieces leaving the top of all pieces open for turning and stuffing.
-Sew a single seam across the head and body pieces and then pin together the head/body pieces (right sides together). Sew the head/body, but leave spaces for the arms and legs to be attached.
-Turn all pieces right side out. Stuff legs and arms with batting.
-Attach arms to body and then stuff the head and body.
-Attach legs to body.

I started out sewing by hand and then decided that I would rather use my machine. This doll is small enough that either method would work. I actually forgot to leave the bottom of the body open when sewing and had to rip the seam. (that's always my favorite.)

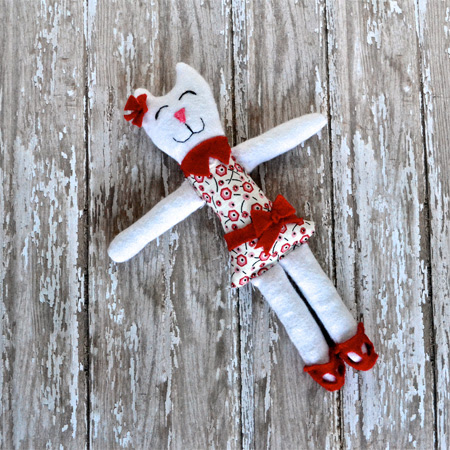
Finally, I added a few details to the doll. I pulled out some felt for the collar, bows and shoes. Then I used some floss to embroider the face.
I think she turned out sweet. Jellybean must have thought so too. She named her "Sweetie".
Well that burned some of my creative energy. I'll be interested to see what my fingers get itching to do next.

Have a Happy Day!

~MJ

Sharing on:


Friday, September 14, 2012

Humpty Dumpty Tutorial & Pattern

Welcome back for the Humpty Dumpty Doll Tutorial and Pattern!
First, here is the pattern that I put together for the doll:


In the process of turning the pattern into a PDF, it got shrunk slightly, so I've noted to add a 1/4" seam allowance to each piece when cutting. I don't have pictures for everything. So, if you have questions, feel free to leave them in the comment section.

Now let's make the Humpty Dumpty:
1. Choose your fabrics and gather materials. I just used scrap material that I had around. I chose 5 different fabrics for the following: Face/Hands, Body/Arms, Legs/Bow tie, Spats/Collar and Shoes. You'll need scissors, pins and some coordinating ribbon and thread.

2. Cut out the pattern. You'll need to make sure to cut out 4 each of the shoe, spats, legs, arms and hands. You'll also need 2 each of the body, head and collar. Make sure to fold fabric at indicated fold lines before pinning and cutting.

3. Pay attention to how you are cutting. I laid out all of the pieces after I cut them to make sure I had both right and left legs/arms when all of the fabric pieces are right sides facing out.
4. Pin one head piece and one body piece together, right sides facing each other. Repeat with other two pieces.
5. Sew both along the straight edge.
6. Pin one hand and arm piece together right sides facing each other. Repeat 4 times.
7. Sew hand and arm pieces together.  *After sewing each piece, I made sure to iron the seams.
8. Pin together shoe and spat pieces. Right sides facing each other and repeat 4 times. Then sew together.  *As I went along, I checked to make sure that I did indeed have a right and left leg/ right and left arm. I was a little paranoid about it.

9. Now pin spats and leg pieces together. Right sides facing each other and repeat 4 times. Now iron the seams.  * I ended up ironing the seams for the shoe/spat and leg/spat opposite each other. I wanted the leg (or pant) to look like it had a slight cuff over the spat. If that makes sense.
10. I further defined the cuff look by sewing a straight seam across the outside of each leg.

11. Pin two arm pieces together, right sides facing in and sew together leaving the top open for stuffing.  Repeat for the second arm.  Pin two leg pieces together (make sure the cuff line matches up), right sides together and sew together leaving the top open for stuffing. Repeat for the second leg.

12. Stuff arms and legs leaving about a 1/2" of  fabric at the top. Sew across the top to secure the stuffing.  *While stuffing, I left each limb a bit sparse were the knee/elbow join would be, so that they'd still have a bit of movement. Just don't overstuff.
13. Pin and sew head/body pieces together. Only sew across the head portion, leaving the body open. Pin the arms in on each side of the body. I hand stitched the arms in place. *thumbs pointing up.

14. Stuff the head and body.

15. *This is the trickiest part of this whole project. Pin the rest of the body closed and pin in the legs where you want them.  Hand stitch the body closed and stitch in the legs as you work. I just tried to make my stitching as neat as possible. Before you completely close up the body, add extra stuffing if needed so that the body is nice and filled out.
16. Now I wanted to add a few details. Pin the two collar pieces together and sew. I left the middle bottom section open for turning. Just make sure you leave an opening for turning. Then iron.

17. Cut two rectangles (as big as you want the bow tie to be) Pin and sew the two rectangle bow tie pieces together. Leave a space for turning! I trimmed the corners before I turned it right side out.  Then iron and stitch the center together to create the bow tie.
18. I sketched out the faces I wanted to use. Then I used a disappearing ink quilting pen to draw them onto the fabric. That type of pen is awesome. It makes it really easy to fix any mistakes. I used fabric paint for the faces. I like the Scribblers fabric paint. You can find it at Hobby Lobby for a $1 per bottle.

19. Cut out a rectangle of head fabric and round the corners. I wanted this piece to be about the same width as the doll face and just a little longer to accomodate the seam when stitched on and to leave a little to tuck into the collar on front when in use. Paint your "cracked" face onto this piece of fabric. *I didn't want this to fray, so I used some liquid fray block around the edge of the fabric. Make sure you spot check it on your fabric first to make sure that it dries clear.
20. You're almost done! Some last details: Cut a bit of ribbon (I like to use a polyester blend so that I can melt the edges of the ribbon to prevent fraying). I folded down the top of the collar to shorten it a bit and then sewed the ribbon to the top of the collar. Then I cut a small piece of ribbon and attached it around the middle of the bow tie.  Attach the bow tie to the collar. Now stitch the collar around your Humpty Dumpty. I left a little bit of a pocket at the top of the collar while stitching where I could tuck in the bottom of the alternate face.

21. I didn't picture it, but now you'll want to attach the "cracked" face. I stitched it onto the very top seam on my Humpty's head.  I only stitched across the top, so that I could pull the face forward and then pull it back when not in use. As I stitched, I tried to pull the fabric as flat as possible, so that it would lay mostly flat across the face. Then I trimmed away any excess fabric.
That's the long and short of it. This is my first sewing tutorial. So, I hope all of the steps make sense.
I originally wanted to add some rosy cheeks to my Humpty, then decided against it because I was in a rush and Jellybean wanted the doll right away. I did discover that fabric pastels will work well for that. I also neglected to add a little button detail to the spats. I'll have to get on that.

One final note, I don't have a clever way of hiding the "cracked" face when not in use. I thought about putting a little hat on top of his head to tuck it into or just attaching a bit of velcro to the back of his neck. If you come up with something, do let me know.

Be sure and let me know if you enjoyed this tutorial or if you have questions.

Have a Happy Day!

~MJ

Tuesday, May 1, 2012

Project: Sew Skirt

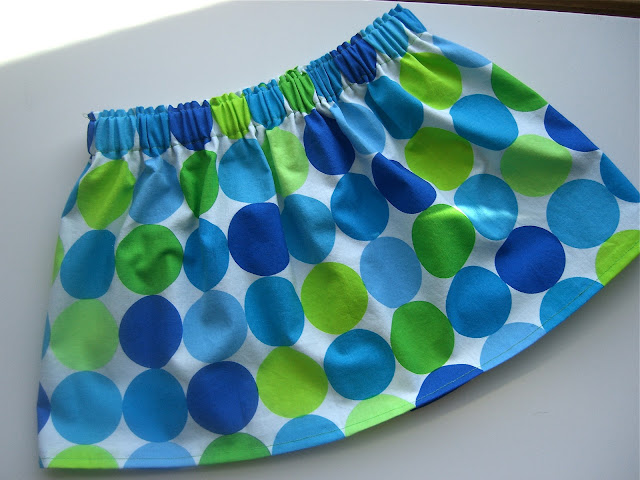
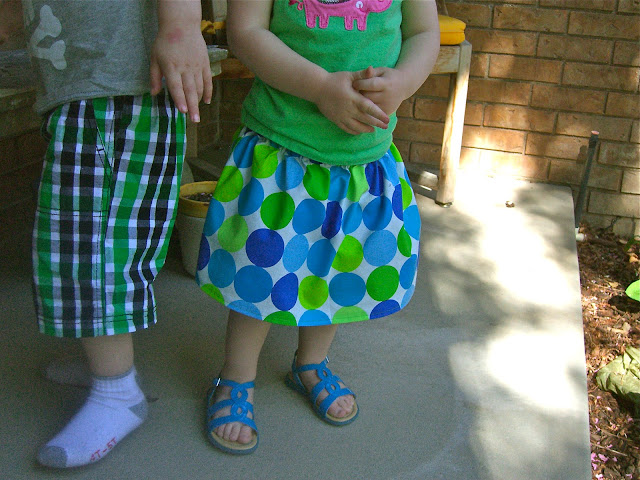
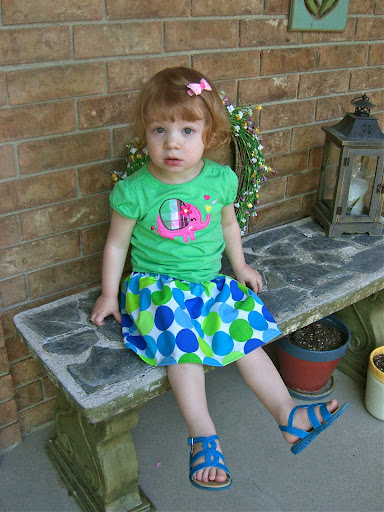
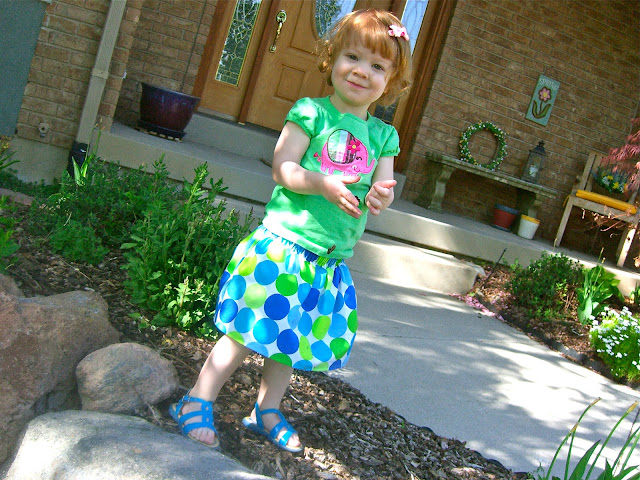
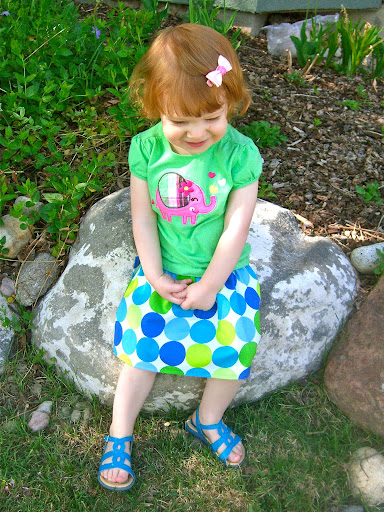
I found a great tutorial on MADE recently. In fact, all of Dana's tutorials are fantastic.  Anyway, I usually have a ton of fabric laying around, so I decided I needed to sew my daughter a skirt.  I took her measurements and pulled out some fabric. Then I proceeded to do absolutely nothing else for two months.  Fast forward to today.  I buckled down and sewed my daughter a skirt! I'm saying that I actually created clothing for my child to wear and it was really easy! If I can do it, anyone can.
I'm pretty proud of the end result. Not only does it look cute, but it actually fits! Jellybean liked it enough that she wanted to try it on the minute I sewed the last stitch.  She's pretty particular about what she wears, so it was a huge compliment.
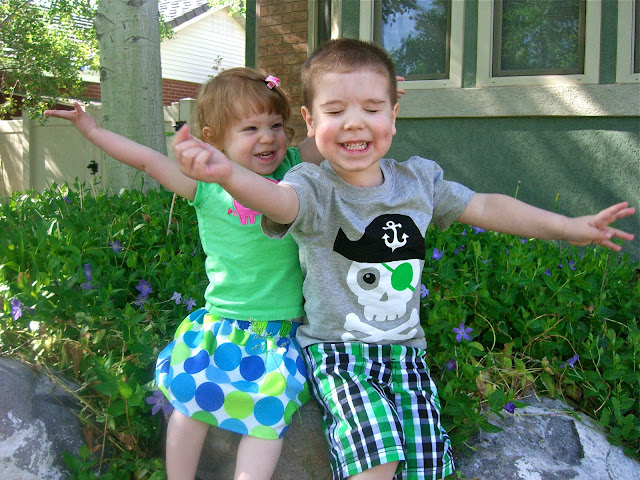
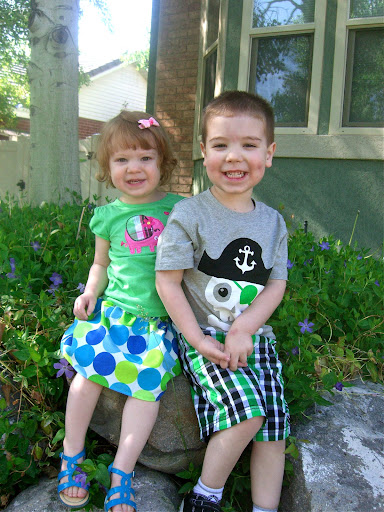
The t-shirt doesn't match it perfectly and I didn't brush her hair, but she is still adorable.  I have a vision of creating a t-shirt to match it, but that may be another two months down the line.
 Buddy had to get in on the photo shoot action in his new Target pirate outfit.
A HUGE thank you to Dana at MADE for helping me feel like a super mom!

Have a Happy Day!

~MJ
This post is participating in:


Tip Junkie handmade projects

Thursday, January 26, 2012

1975 Was A Good Year

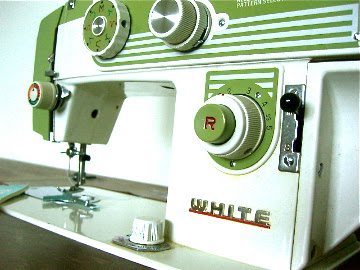
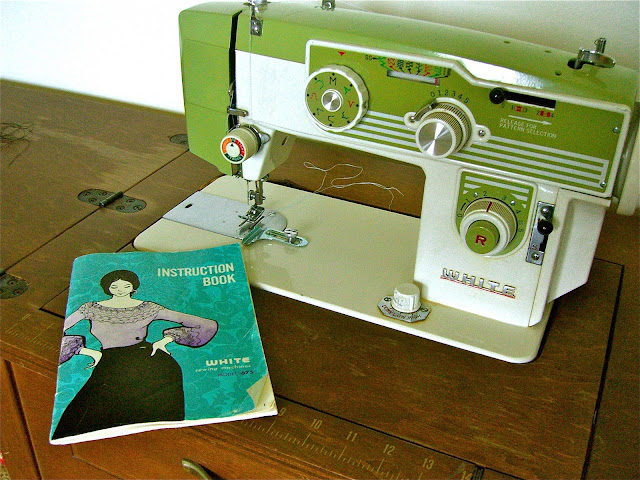
In 1975, the Toyota company (yeah as in the car company) manufactured my White sewing machine. This is the machine I learned to sew on and it is still awesome. I also drive a Subaru. The Japanese sure know their cars and apparently sewing machines.

When I was 11 I took a sewing class. If I recall correctly, I made a tote bag with an amazingly awesome coyote iron-on design on the front, a sundress that ended up being used as an apron and my final piece was a Blossom-esque romper with a Paris, France motif. I remember wearing the last number on a daddy-daughter date with a sweet, white baseball cap (worn side-ways of course). If memory serves, it looked a lot like this but longer and with buttons down the front.
Anyway, after my minor fling with this sewing machine in my pre-teen years, I hardly touched it again until I was married. Over the last 12 years, I've only broken it out to sew a skirt or two, and maybe a few burp cloths, blankets or lovies to give as gifts.
This year I decided that I was going to actually use my sewing machine. My New Year's resolution: Sew Something. It's a bit vague, but don't worry, I have a few projects in mind. Here's a sneak peek at my first sewing project of the year.
Here's a hint: I just purchased a Kindle. :) I'll have updates on that later.

Have a Happy Day!
~MJ