Showing posts with label cute. Show all posts

Monday, February 25, 2013

Jewelry Travel Pouch Tutorial

When I was young, my grandmother made a small jewelry travel pouch for me. That little pouch has gone with me on all of my trips and has kept my jewelry safe and my necklaces from getting tangled. When I'm not traveling, I keep it on my dresser with my rings and watch in it.
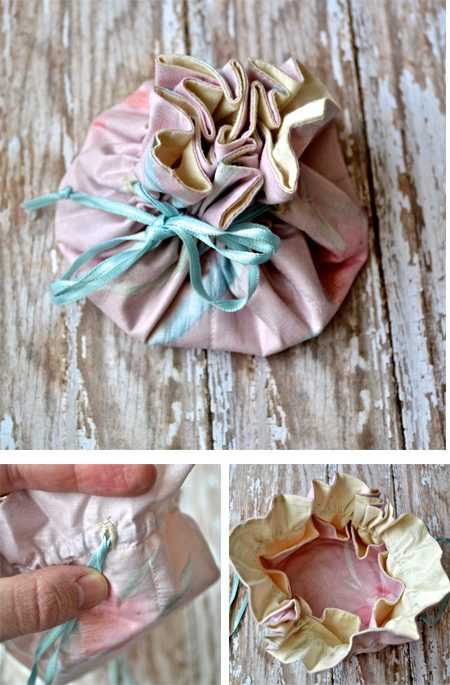
Original Travel Pouch
I got looking at my little pouch the other day and decided that I'd like to re-create it. I thought it would make a fantastic gift for friends or family. So, that's exactly what I did.
It's a really simple concept and except for one bit of laziness on my part, I tried to make mine true to the original. It's such a sweet little pouch. So easy to wrap up and throw in your bag.

Jewelry Travel Pouch Tutorial


Materials:
Just over a quarter of a yard of printed fabric
Just over a quarter of a yard of plain fabric for lining
Coordinating thread
Measuring tape or protractor
Air-erasable pen
43 inches of thin, coordinating ribbon

Start with two sets of circles (place them right sides together):
Sew a .25" seam around each circle and make sure to leave an inch or so open for turning. (You'll notice in the original that she used a buttonholer to create the openings for the ribbon. I am not an expert seamstress. I *think* she must have measured and done the button holes before she sewed the large circle together. I'm not sure, but i was too lazy to figure it out.)

Iron and place finished circles on top of each other like so:
 Now, you'll actually need to pull out the tape measure. I pulled out my trusty protractor. Find the center of the small circle. Using a air-erasable pen, you'll want to mark out the 8 pockets. I started at 90 degrees and then worked around the circle making another mark at 45 degrees. Just like cutting up a pizza.
Sew straight lines along your markings out to the edge of the small circle. Then sew a small circle about an inch from the edge. After that, sew two circles (.25" apart) around the outside of the smaller circle (on the large circle) to create a channel for your ribbon.
Time to insert your ribbon. This is where my laziness came in. I used my craft knife to gently cut a slit on each side of the pouch for the ribbon. I was careful not to slit the liner fabric. Then I used some fray check on the slits. You could also get out some needle and thread and wrap the edges of the slits in thread (seemed like a lot of work at the moment, but would make the holes more finished). Using a safety pin, insert your ribbon into the channel and then knot the ends of the ribbon together.

As a final touch for gift giving, add the little poem that my grandmother added to mine:
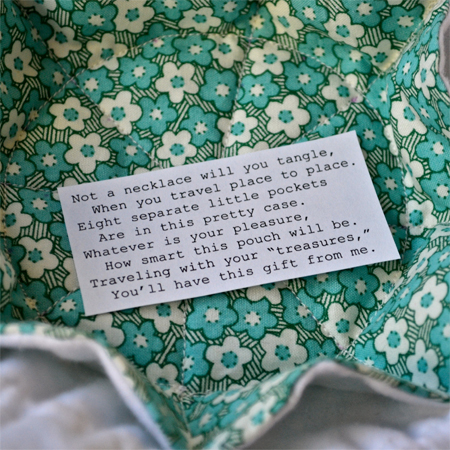
"Not a necklace will you tangle, when you travel place to place. Eight separate little pockets are in this pretty case. Whatever is your pleasure, how smart this pouch will be. Traveling with your 'treasures,' you'll have this gift from me."
I've even made of a PDF you can print with the words:

If you are keeping it for yourself, all that is left to do is to load it up with your jewelry:
I love my little pouch so much, can't wait to make a bunch to give as gifts. That's right friends, you may have something to look forward to. :)

Have a Happy Day!

~MJ

Wednesday, September 12, 2012

WW- Feed The Birds

Apparently, the birds look hungry enough to eat sand...


Feed the birds from A Happy Song on Vimeo.

I'll note that Jellybean chose her red and hot pink outfit all by herself. :)

Join in the Wordless Wednesday fun.

Have a Happy Day!

~MJ

Tuesday, May 1, 2012

Project: Sew Skirt

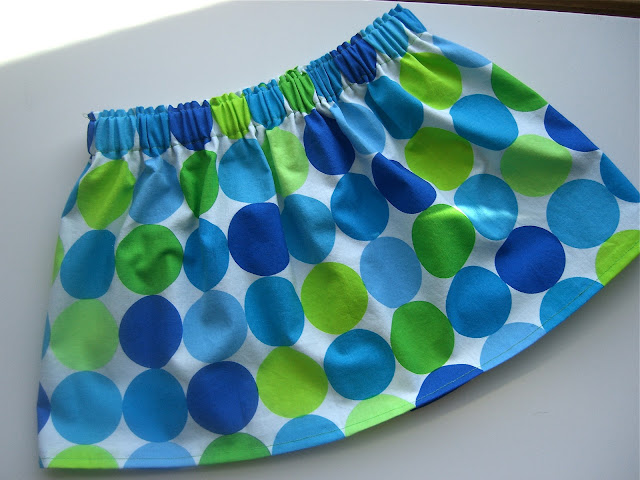
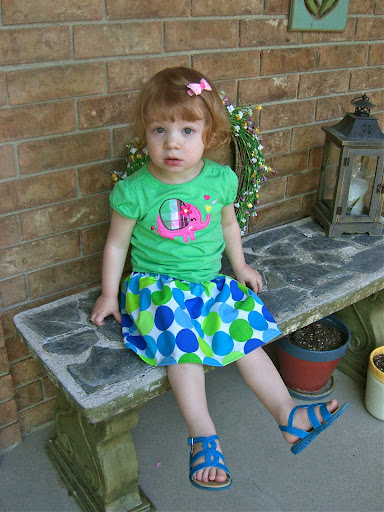
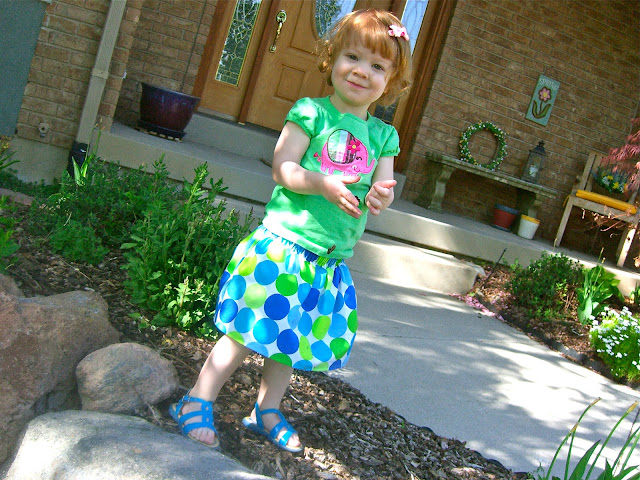
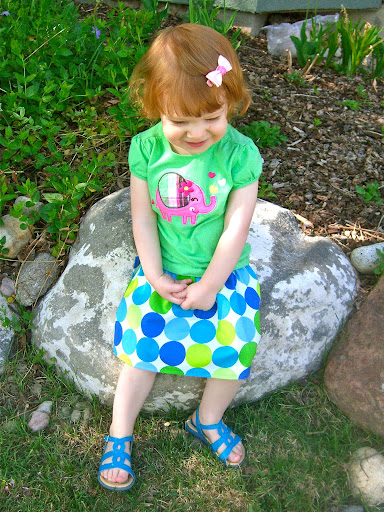
I found a great tutorial on MADE recently. In fact, all of Dana's tutorials are fantastic.  Anyway, I usually have a ton of fabric laying around, so I decided I needed to sew my daughter a skirt.  I took her measurements and pulled out some fabric. Then I proceeded to do absolutely nothing else for two months.  Fast forward to today.  I buckled down and sewed my daughter a skirt! I'm saying that I actually created clothing for my child to wear and it was really easy! If I can do it, anyone can.
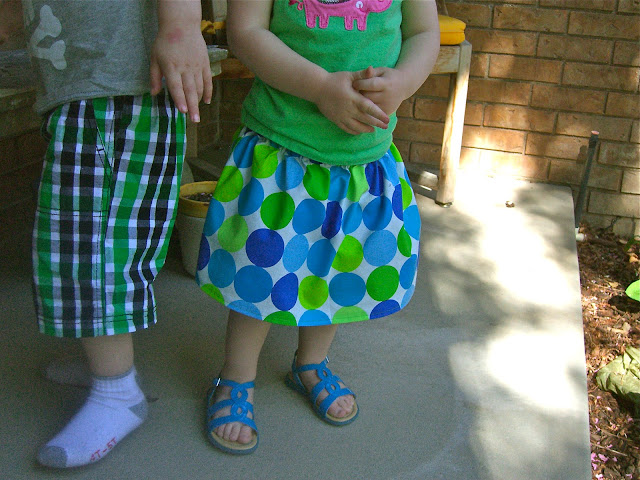
I'm pretty proud of the end result. Not only does it look cute, but it actually fits! Jellybean liked it enough that she wanted to try it on the minute I sewed the last stitch.  She's pretty particular about what she wears, so it was a huge compliment.
The t-shirt doesn't match it perfectly and I didn't brush her hair, but she is still adorable.  I have a vision of creating a t-shirt to match it, but that may be another two months down the line.
 Buddy had to get in on the photo shoot action in his new Target pirate outfit.
A HUGE thank you to Dana at MADE for helping me feel like a super mom!

Have a Happy Day!

~MJ
This post is participating in:


Tip Junkie handmade projects

Wednesday, April 18, 2012

Monday, April 9, 2012

Easter 2012

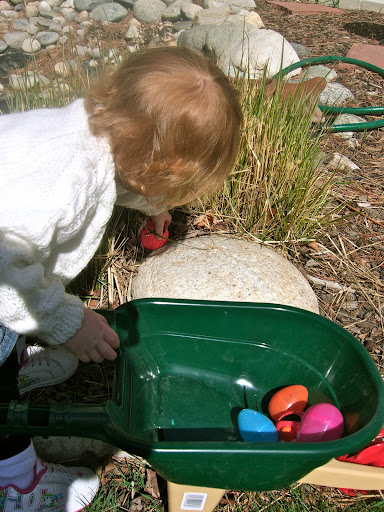
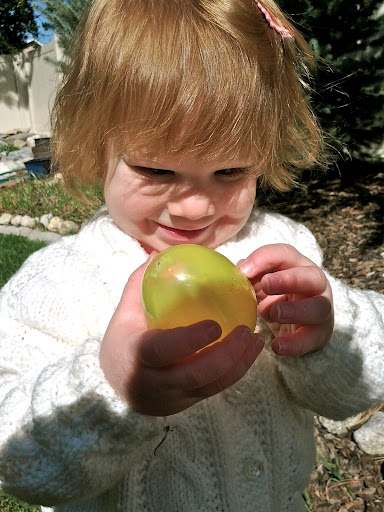
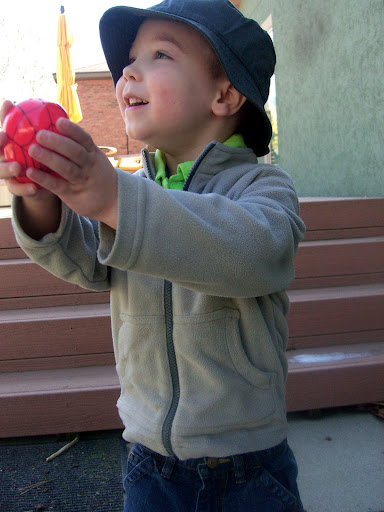
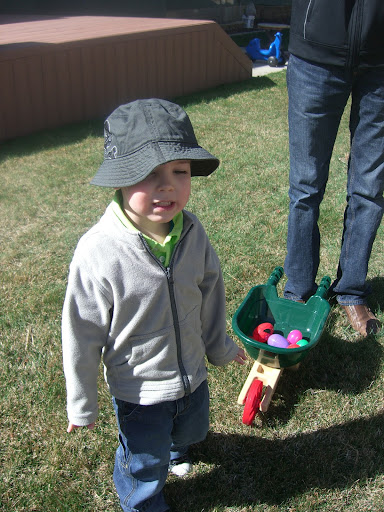
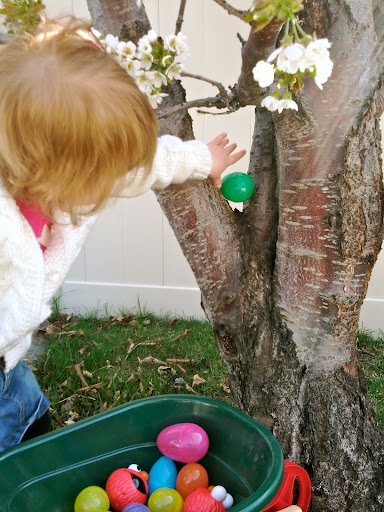
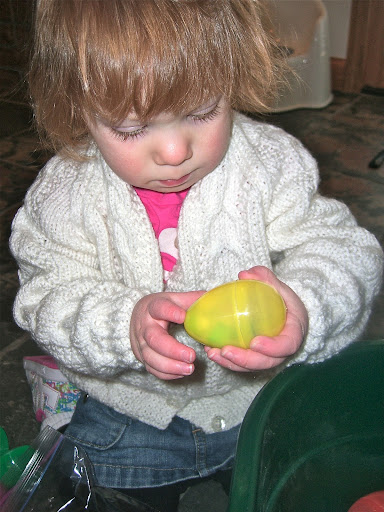
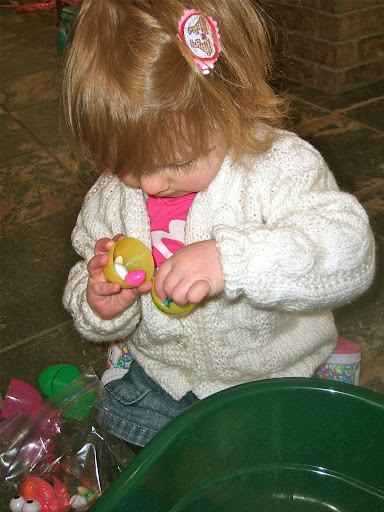
We had a fabulous Easter weekend!  We kicked it off with an Easter egg hunt.  The kids enjoyed searching for the eggs. I purchased them a couple of wheelbarrows and let them use those for egg collection.

The Hunt:
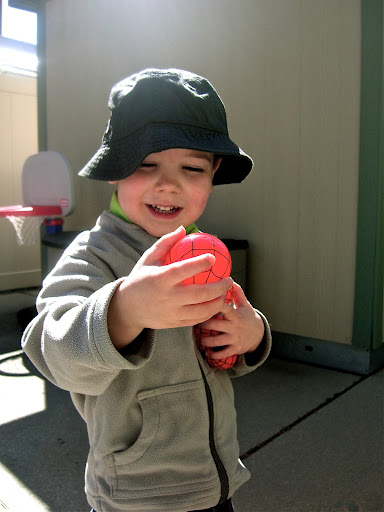
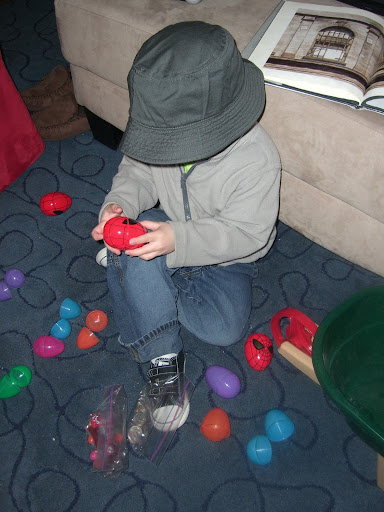
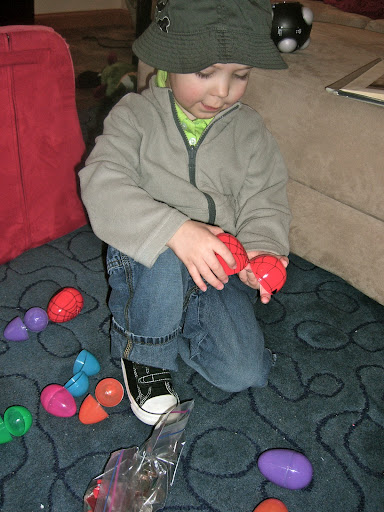
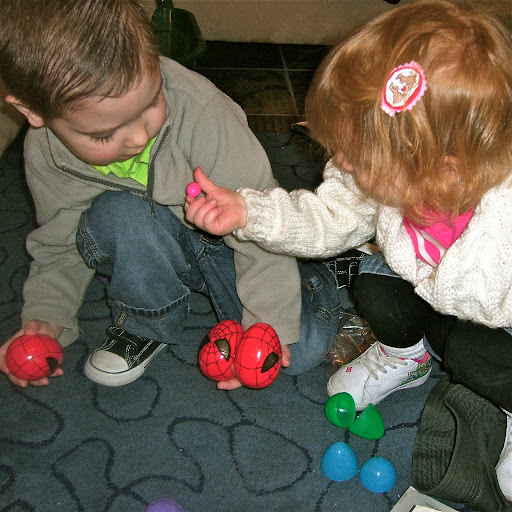
Once Buddy spotted the Spiderman eggs, he only had eyes for those. 
Jellybean was less particular and ended up with more eggs than Buddy. Every time she spotted one, she exclaimed, "More!"
Surveying the Spoils:
Say, "Ahh."
Easter Sunday Photoshoot:
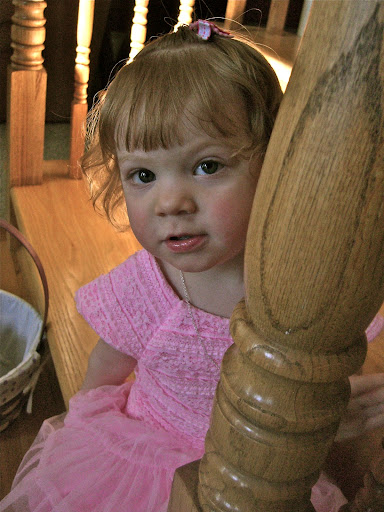
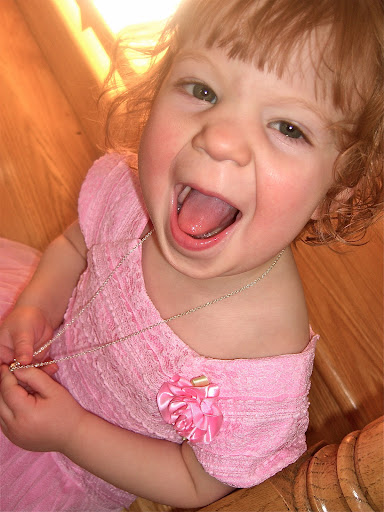
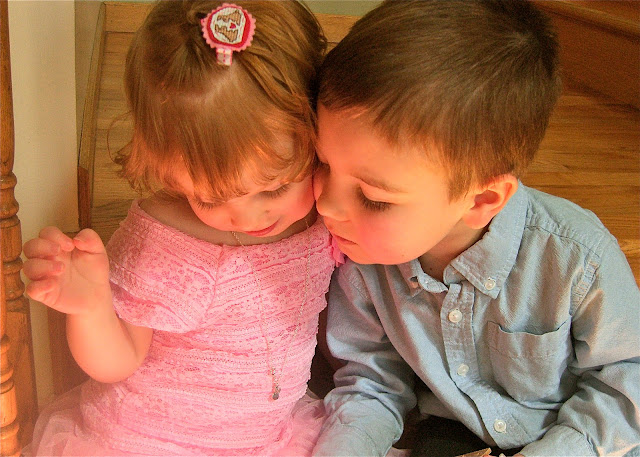
On Sunday, we had a quick photo session after church.  (That seems to be a good time for photo taking.)  Jellybean picked out her own Easter dress. She insisted on the pink ruffled dress. How did I end up with such a girlie girl? The Easter clip she is wearing was made by me.
She is such a sweetheart and so full of personality.
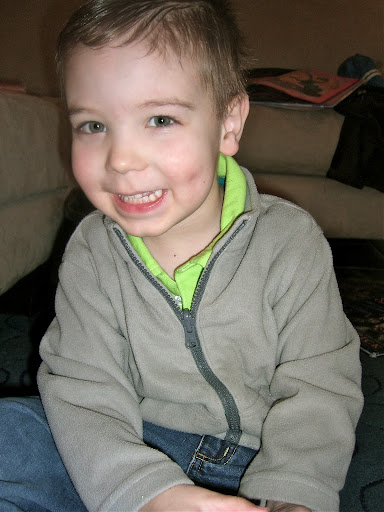
He is a total ham and refuses to do a normal smile for the camera. I had to promise a treat to get these photos.
 
This photo melts my heart.  They really love each other.
I hope your Easter weekend was full of fun as well!

Have a Happy Day!

~MJ

Wednesday, March 14, 2012

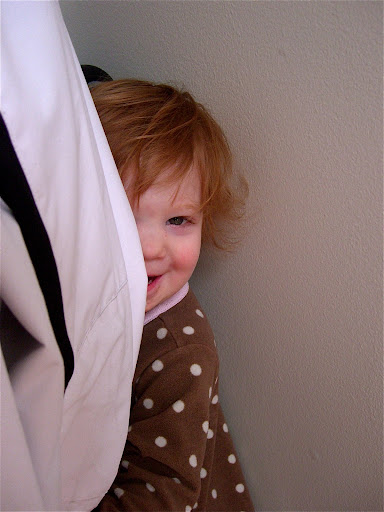
Wordless Wednesday: Peek-a-boo

Shhh...I think I see her hiding in the coats...

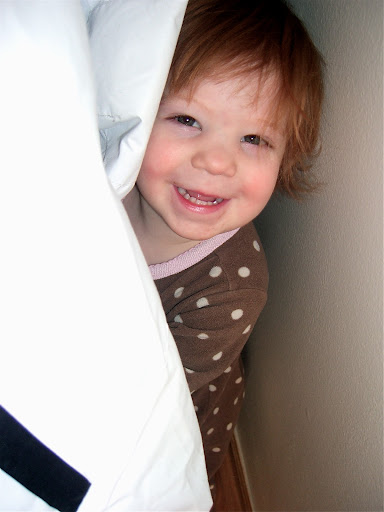
BOO!

Have a Happy Day!

~MJ

This post is participating in Wordless Wednesday.

Tuesday, March 6, 2012

Experimenting with Brooches

 I've had a couple of cross-stitch pieces sitting around that I haven't been able to decide what to do with.  I first thought that I could applique them to something, but my second thought was that I'd love to be able to use them for more than one piece.  I want to be able to move them around as an accessory. So, I decided to experiment and create a couple of brooches.

Cross-Stitch Brooches
 Materials:
Cross-Stitch Sample
Craft Spray Adhesive (or adhesive of choice)
Felt
Bar Pins
Scissors
 Glue bar pin to the back of cross stitch piece
Cut slit in felt for bar pin. Glue felt to back of cross-stitch
 Trim excess cross-stitch material
  Model it on your cute vintage cardigan
 Two brooches, ready to accessorize.
Jellybean actually giggled when she saw these and then tried to figure out how to pin both of them on.

Have a Happy Day!

~MJ

This post is participating in:
 Tip Junkie handmade projects Photobucket