With 7 days left before the holiday, I'm still making some additions to my Halloween decor. I've been wanting to add a little more decoration to our mantel, so I thought I'd create some Halloween silhouettes. It turned out to be a really simple and fun craft. It was also a great project to do during nap time.
Materials:
Glass frames (I found mine for $5 a piece at Michael's)
Textured fabric like burlap or cross stitching material.
Hot glue gun
Sharpie
Printed image to copy for the silhouette.
I found a couple of images online that I liked and printed them off. There are tons of Halloween silhouettes available online.
I took the glass out of my frames, positioned it over the silhouette and then just copied the image straight to the glass using my sharpie.
When I was done copying the image, I hot glued the fabric to the backing in the frame, then laid the glass on top of the fabric. At that point, I could see if there were any spots I had missed and I filled them in.
I actually left the sharpied image facing out. It gives the impression of it floating away from the background a bit.
I really like the way they turned out. They are super simple, but give a fun Halloween flair to the mantel.
It will be fun to bring them out again year after year.
Have a Happy Day!
~MJ
Showing posts with label frame. Show all posts
Showing posts with label frame. Show all posts
Wednesday, October 24, 2012
Monday, August 27, 2012
First Day of School Chalkboard
Buddy just started his first day of preschool today! I'm certain that I'm more anxious about it than he is. Is it okay for the parent to experience separation anxiety? He's my first, so unlike most of the parents I meet, I kind of want to keep him home forever. He's pretty much awesome. Perhaps, after I've experienced life with just one child a few days a week, I'll feel differently. Maybe. And I suppose that the one on one time with Jellybean will be good for both of us.
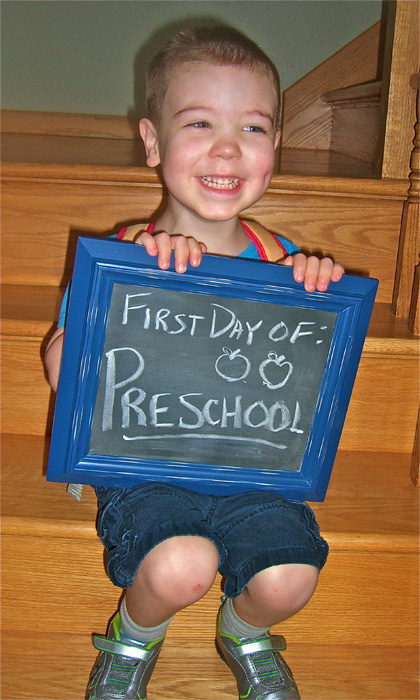
Here's my amazing preschooler (AHH! I have a preschooler!)
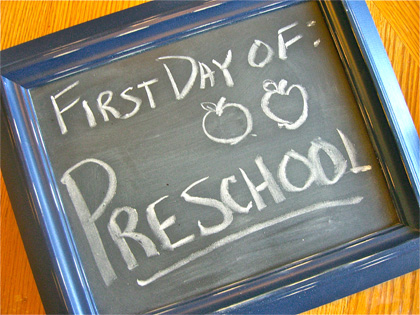
See that chalkboard in his hands? I got this really simple tip from a friend. Just pick up a frame and spray paint the glass with chalkboard paint. Now, I'll be able to use this chalkboard every year. How awesome is that?
Here's the step by step:
1. Get some chalkboard paint and take the glass out of your frame.
2. Spray paint the glass. I gave it several thin coats. After it was dry to the touch, I did a few more thin coats.
3. Let it dry for 24 hours
4. To get it ready for use, rub chalk over the entire surface.
5. Erase.
6. Put it in your frame and you're ready to write.
Have a Happy Day!
~MJ
Sharing on:


Here's my amazing preschooler (AHH! I have a preschooler!)
See that chalkboard in his hands? I got this really simple tip from a friend. Just pick up a frame and spray paint the glass with chalkboard paint. Now, I'll be able to use this chalkboard every year. How awesome is that?
Here's the step by step:
1. Get some chalkboard paint and take the glass out of your frame.
2. Spray paint the glass. I gave it several thin coats. After it was dry to the touch, I did a few more thin coats.
3. Let it dry for 24 hours
4. To get it ready for use, rub chalk over the entire surface.
5. Erase.
6. Put it in your frame and you're ready to write.
 |
| I don't have incredible art skills, maybe they'll improve over the years. |
~MJ
Sharing on:


Labels:
chalkboard,
first day,
frame,
glass,
kids,
paint,
photo shoot,
photography,
preschool,
school,
sign
Subscribe to:
Posts (Atom)


