It's been a little while since I've done a formal art activity with the kids. With Buddy starting school, I've felt a bit at loose ends and haven't been very good at planning. I decided to change that today. I saw this project somewhere on the internets last Fall and have been meaning to do it ever since. Now that Fall is nearly here, I keep seeing it pop up here and there on other blogs, so I decided to get the kids busy today and make some "stain glass" leaves. Buddy, being obsessed with Halloween, decided that he wanted to make "stain glass" jack-o-lanterns instead.
Materials needed:
-Clear contact paper
-Tissue paper
-Construction paper
-Scissors
-Masking tape
-Pen
We started by ripping up a lot of tissue paper in varying shades. I let the kids choose which colors they wanted to use and we went to town on it.
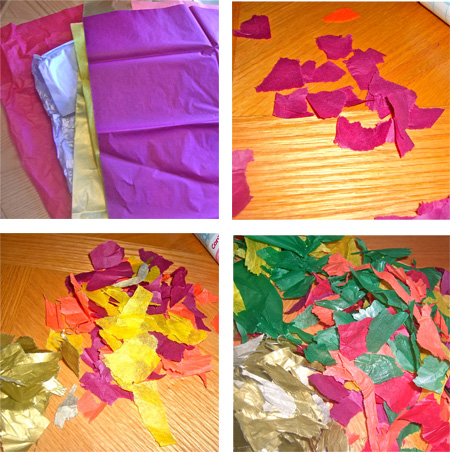 |
| Torn up tissue paper pile got larger and larger. |
 |
| Jellybean was pretty proud of the mess she was making. |
It was not hard to convince the kids to rip up paper. Jellybean could hardly contain her glee, "Mama, I'm making a mess!"
Once the kids were done ripping up the paper, I sent them off to play for a little while. I sketched out a maple leaf on some scratch paper and then copied it onto the back of the contact paper a couple of times. Then, I also sketched out a couple of simple pumpkin shapes.
I cut those out, peeled off the backing and placed them sticky side up in work stations for the kids. I used just a little bit of masking tape to secure them in place.
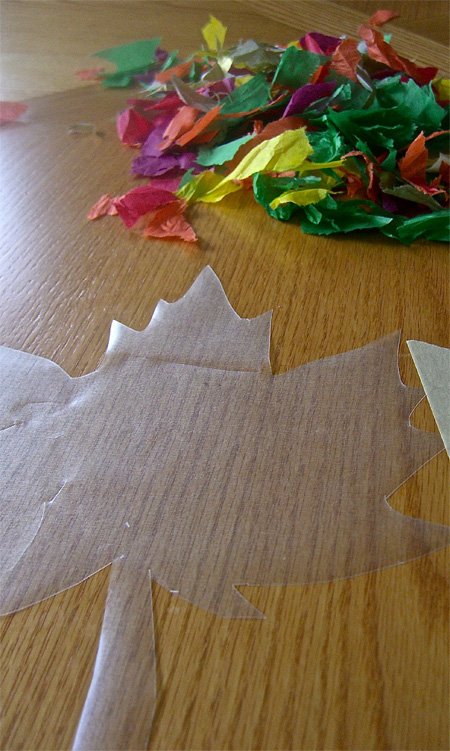 |
| Contact paper maple leaf ready to go. |
Then I cut out a few jack-o-lantern eyes, noses and mouth shapes for Buddy's pumpkins.
I called the kids over and they started to cover the contact paper with the torn-up tissue and face shapes for the pumpkins.
The kids had a really fun time plastering their shapes with color. Once the shapes were completely covered, I removed the masking tape and used my scissors to clean up any tissue that went out of the shape. We hung them up in the window to get the full effect. I think they turned out pretty cute.
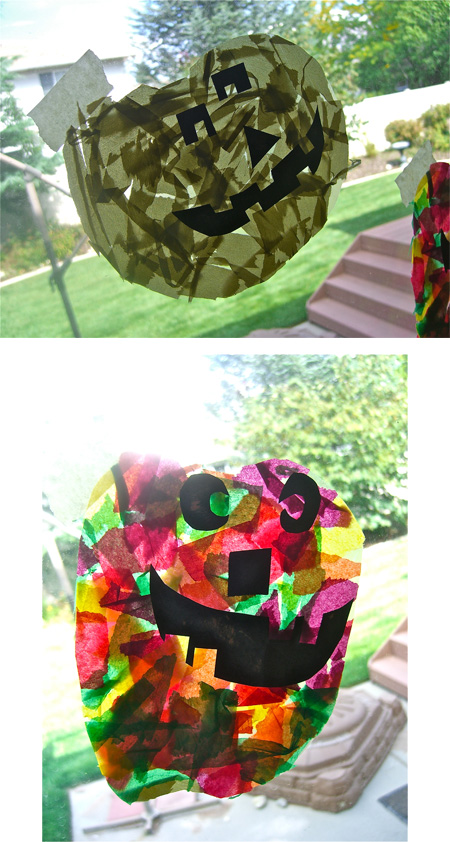 |
| Stain Glass Jack-O-Lanterns. Buddy loves the gold one. |
 |
| Stain Glass Leaf. My photos don't quite catch how pretty these are in the window. The sun shining through really makes the colors pop. |
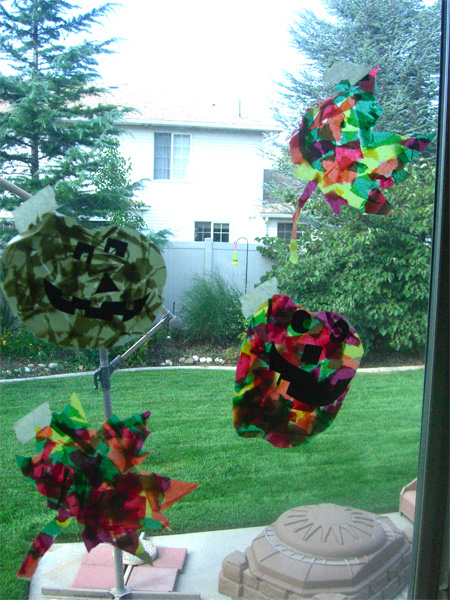 |
| All of the shapes hung up over looking the back yard. Note our wasp trap, in the background, that is completely full. |
Definitely a fun afternoon project. We're really getting excited for Fall over here.
Have a Happy Day!
~MJ
Sharing On: