
Materials:
-Silver Oven-Bake Clay. Any brand will do. I go with the cheapest for $1.99.
-Smooth Plastic Rolling pin. I used the one from my kids' play dough set.
-Tongue depressors or something to gage thickness while rolling. Playing cards would also work.
-Wax Paper to protect your work surface
-Small Heart Shape Fondant Cutter
-Tape
-Toothpicks
-Metal Letter Stamps. Here's a similar set to what I have: small letter stamps. I have used mine in a ton of projects.
-Chain. I picked a 36" one up at Hobby Lobby for $1.99.
-Acrylic Paint (water-based) This is optional.
-Foam craft brush. Also optional.
Method:
Start by setting up your work space. I taped some wax paper down to my work surface, I also bundled some tongue depressors to my desired thickness (I used 5 tongue depressors on each side. I was going for approximately a 1/4"thickness) and taped them down to my surface.


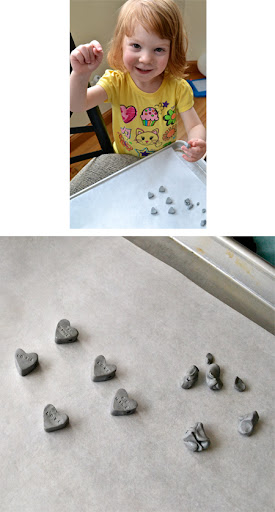 |
| As you can see, I had a helper. She was making silver nuggets. She gifted them to her brother in his mailbox. |
Once they are done baking allow them to cool. You can use water based acrylic paint to fill in the words if desired. Just paint the surface of your pendant, allow it to dry for a short period and then rub the excess paint off of the surface with a damp cloth. I liked the look of a little bit of paint left on the surface of the pendant. Once that is dry, you can put the chain through and you are done!

Have a Happy Day!
~MJ
No comments:
Post a Comment